2 servo 3 position controller board
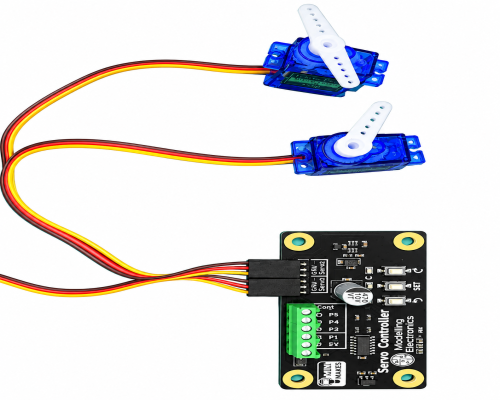
Servo Controller – Instructions
The Servo Controller is designed to control the position and speed of two low power 5V analogue servomotors. Although there are connections for two servomotors, both servomotors are linked and will receive the same positioning signal from the controller. A typical reason for wanting to control two linked servos like this might be to control a pair full descriptionItem number
Data Sheet
Product Name
Price Net
Price Inc VAT
Add to Basket


Image Gallery
Servo Controller – Instructions
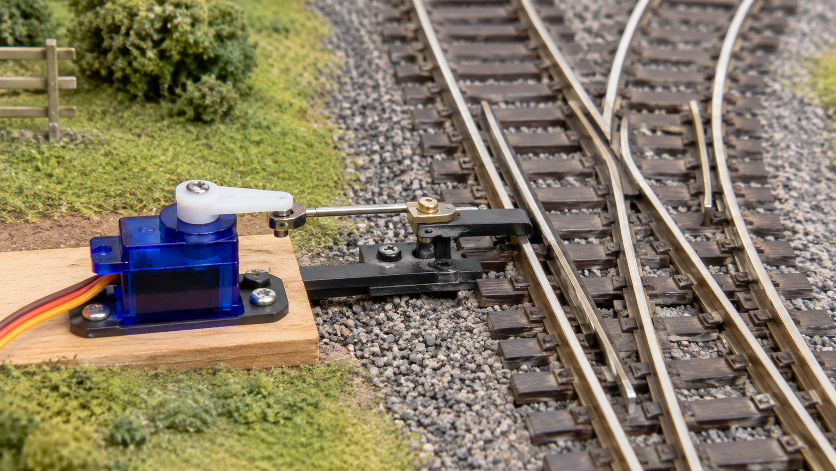
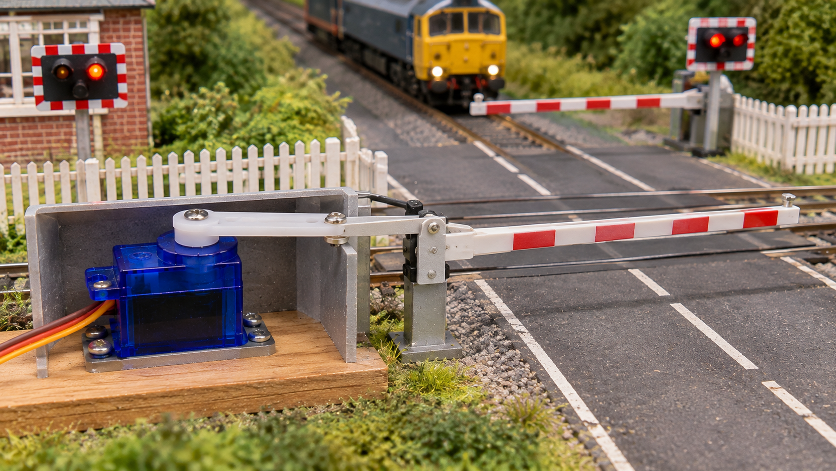
The Servo Controller is designed to control the position and speed of two low power 5V analogue servomotors. Although there are connections for two servomotors, both servomotors are linked and will receive the same positioning signal from the controller. A typical reason for wanting to control two linked servos like this might be to control a pair of level-crossing barrier.
Please not that the servos are not included and these are sold separately.
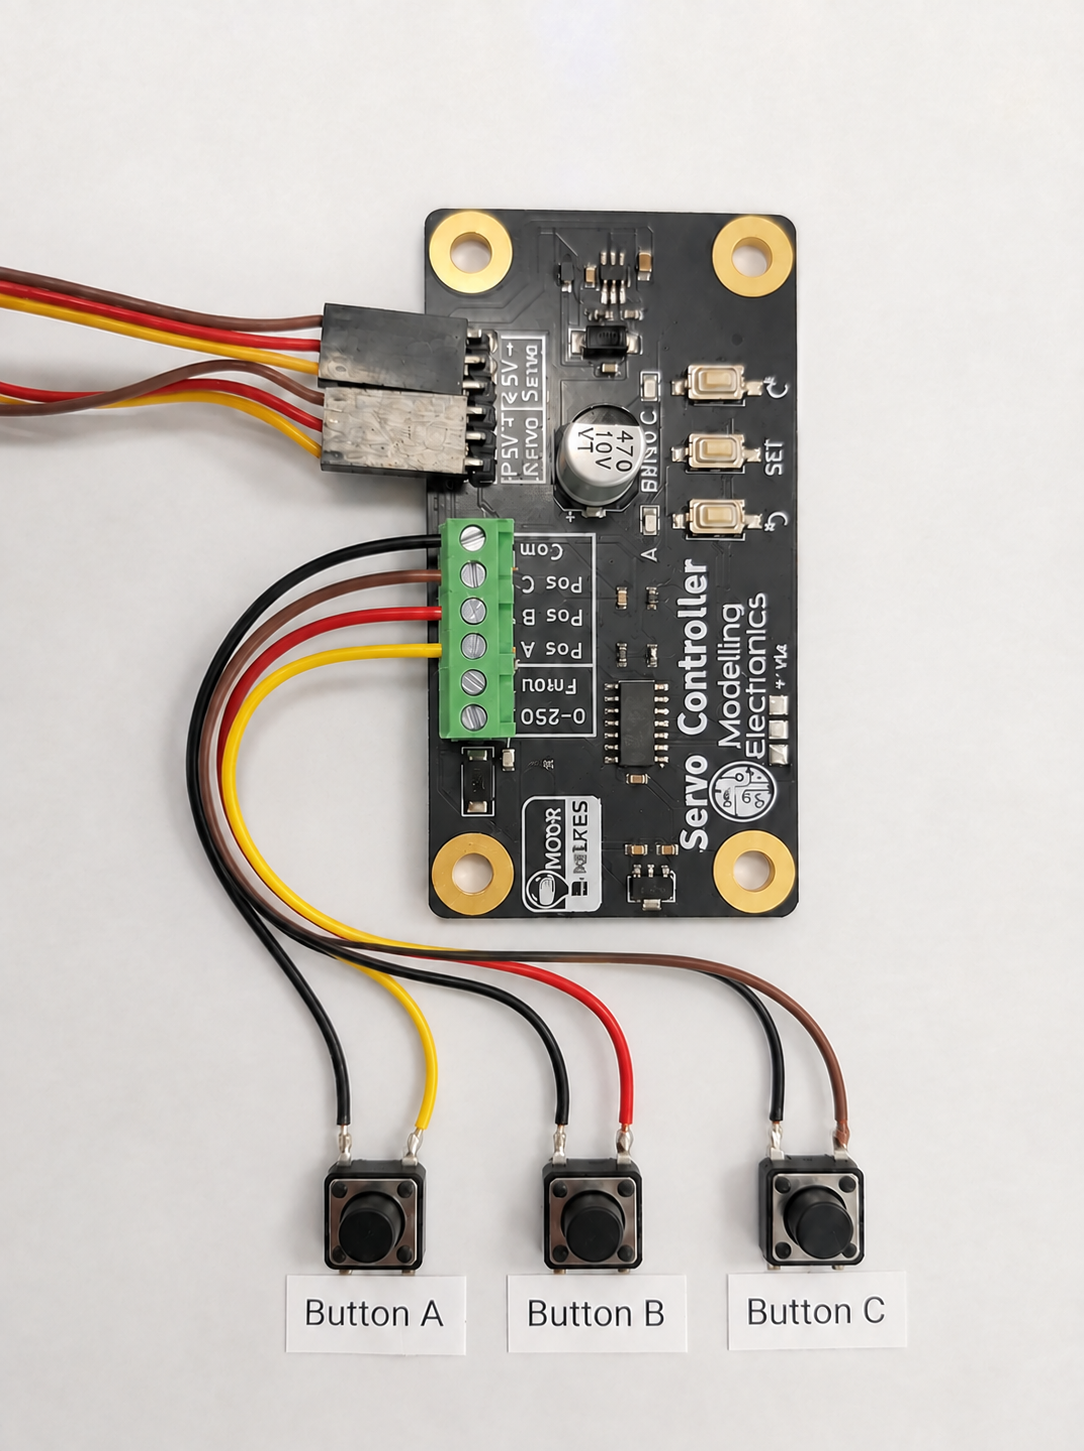
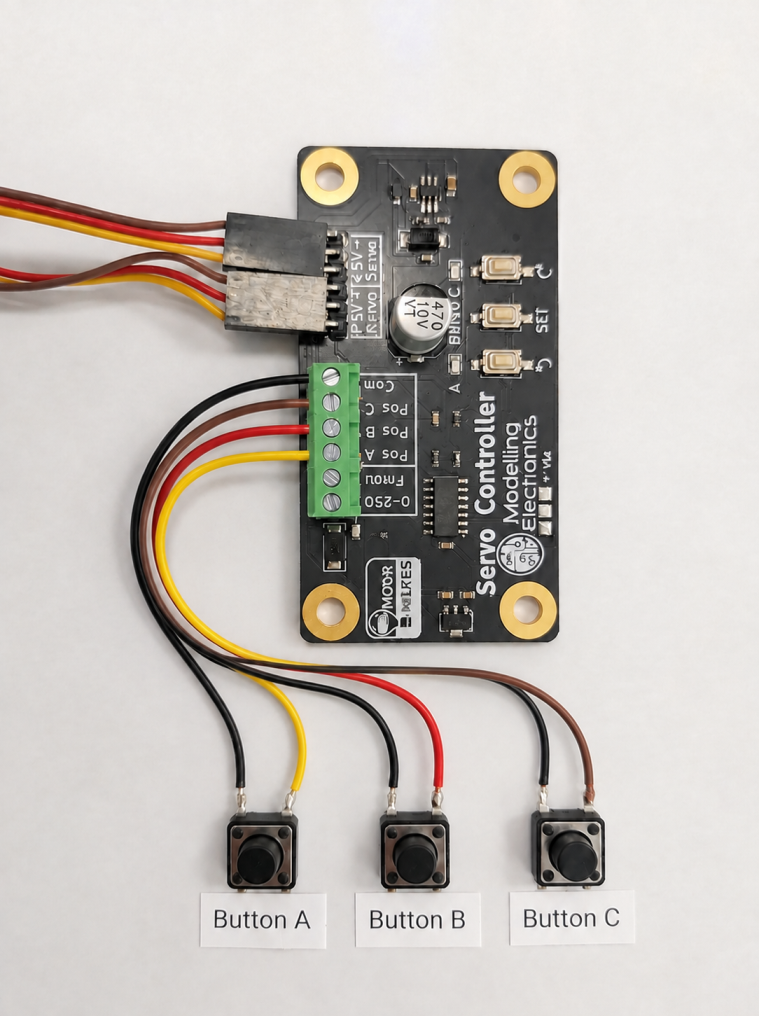
Wiring
The board will accept power between 9V and 20V DC only.
General Use
Once wired up, the orange power LED should light up, and the green LED labelled A should also be lit, indicating that the servomotors are in position A (by default 0 degrees).
To move the servo to position B (90 degrees by default) press the external button B.
To move to position C (180 degrees by default) press the external button C.
Setup
By default, the servos will move to positions of 0, 90 and 180 degrees when buttons A, B or C are pressed. They will also move at maximum speed.
You can change the three position angles, as well as being able to choose from one of four preset speeds of movement by putting the Servo Controller into Setup mode. To do this. Press and hold the SET button for at least 5 seconds until the orange LED goes out.
Once in Setup mode, the green LEDs still indicates which servo position is selected.
Pressing the left-most push switch will start the servo arm moving in one direction, the right button in another direction. Use this to adjust position A to the angle you want.
When you are happy with the position, press SET and the green LED for position B will light and the servo arm move to the current set position B. Adjust this if needed with the left and right buttons, as you did for position A.
Press SET again to repeat this for position C.
Pressing SET after position C will turn all three green LEDs on, indicating that you can now change the servomotor speed. Now, the left and right buttons will allow you to choose from four speed settings, that the servomotor will illustrate by moving back and forth at the speed chosen.
When you are ready to save the position and speed changes that you have made, press and hold the SET button until the orange LED lights up again (at least five seconds). The new settings will now be remembered, even if the Servo Controller is turned off and on.
Note that without this long press of the SET button, the changes will not be saved. So, if you want to discard the changes you have made, disconnect the power to the Servo Controller momentarily.
Factory Reset
If you find that the servo positions are all messed up and you want to start again, you can reset the Servo Controller to its default settings using the following procedure.
- Put the Servo Controller into Setup mode, by holding the SET button down until the orange LED goes out (at least 5 seconds).
- Press both the left and right buttons at the same time. The orange LED will blink 5 times while the Servo Controller's factory settings are restored.